


In this article, we will continue with our learning of spring security and will see how to implement spring security with in-memory authentication to authenticate the user.
If you are new to spring security, I highly recommend you to check my article on How Spring Security Works before continuing with the implementation of spring security.
Implementation
For implementing Spring Security we need to configure various aspects of spring security and to do that we will extend the class WebSecurityConfigurerAdapter.
And annotate our class with @Configuration and @EnableWebSecurity.
@Configuration
@EnableWebSecurity
public class SecurityConfig extends WebSecurityConfigurerAdapter{

}
In-Memory Authentication 101
To implement in-memory we will have to override configure() method of WebSecurityConfigurerAdapter. The configure method accepts an argument AuthenticationManagerBuilder which has a method inMemoryAuthentication() that creates user and password with roles.
AuthenticationManagerBuilder is used to create AuthenticationManager which allows for easily building in-memory, LDAP, JDBC authentication. To implement in-memory authentication it provides inMemoryAuthentication() which returns InMemoryUserDetailsManagerConfigurer using which we can create our users with withUser() method. The method withUser() accepts username as argument and returns UserDetailsBuilder using which we can add password which in turn also returns UserDetailsBuilder and we can add the roles.
@Override
    public void configure(AuthenticationManagerBuilder auth) throws Exception {
        // @formatter:off

        auth.inMemoryAuthentication()
                .withUser("shail")
                .password("{noop}shail123")
                .roles("ADMIN");

        auth.inMemoryAuthentication()
                .withUser("john")
                .password("{noop}john123")
                .roles("USER");

     // @formatter:on
    }
Now to implement the security we also need to override the configure() method of WebSecurityConfigurerAdapter which accepts an argument HttpSecurity. HttpSecurity provides various methods to configure different aspects of security.
authorizeRequests()– Allows restricting the access based upon the Http servlet request.antMatchers()– Allows configuring invoking ofHttpSecurityonly for matching patterns of URL.hasRole()/hasAnyRole()– Allows to configure role of the user needed to access the particular URL pattern.formLogin()– It is used to specify to support the form-based authentication.
@Override
    public void configure(HttpSecurity http) throws Exception {
        // @formatter:off

        http
            .authorizeRequests()
            .antMatchers("/api/admin/**").hasRole("ADMIN")
            .antMatchers("/api/user/**").hasRole("USER")
            .antMatchers("/api/any/**").hasAnyRole("ADMIN", "USER")
            .anyRequest()
            .authenticated()
            .and().formLogin();

        // @formatter:on

    }
Testing
To test our implementation let's create a simple controller with some GetMapping which return different messages.
@RestController
@RequestMapping(value = "api")
public class MessageController {
@GetMapping(value = "/admin/message")
public String adminMessage(Authentication auth) {
String role = "";
for (GrantedAuthority gauth: auth.getAuthorities()) {
role = gauth.getAuthority();
}
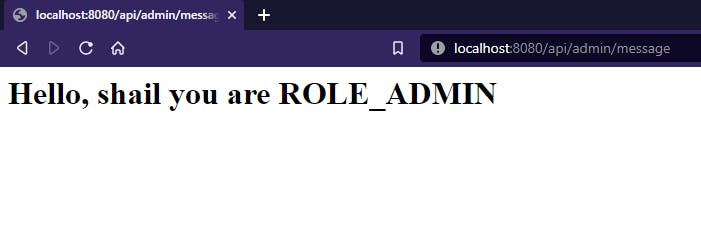
return "<h1>Hello, "+ auth.getName()+ " you are "+ role+"</h1>";
}
@GetMapping(value = "/user/message")
public String userMessage(Authentication auth) {
String role = "";
for (GrantedAuthority gauth: auth.getAuthorities()) {
role = gauth.getAuthority();
}
return "<h1>Hello, "+ auth.getName()+ " you are "+ role+"</h1>";
}
@GetMapping(value = "/any/message")
public String anyMessage(Authentication auth) {
String role = "";
for (GrantedAuthority gauth: auth.getAuthorities()) {
role = gauth.getAuthority();
}
return "<h1>Hello, "+ auth.getName()+ " you are "+ role+"</h1>";
}
}
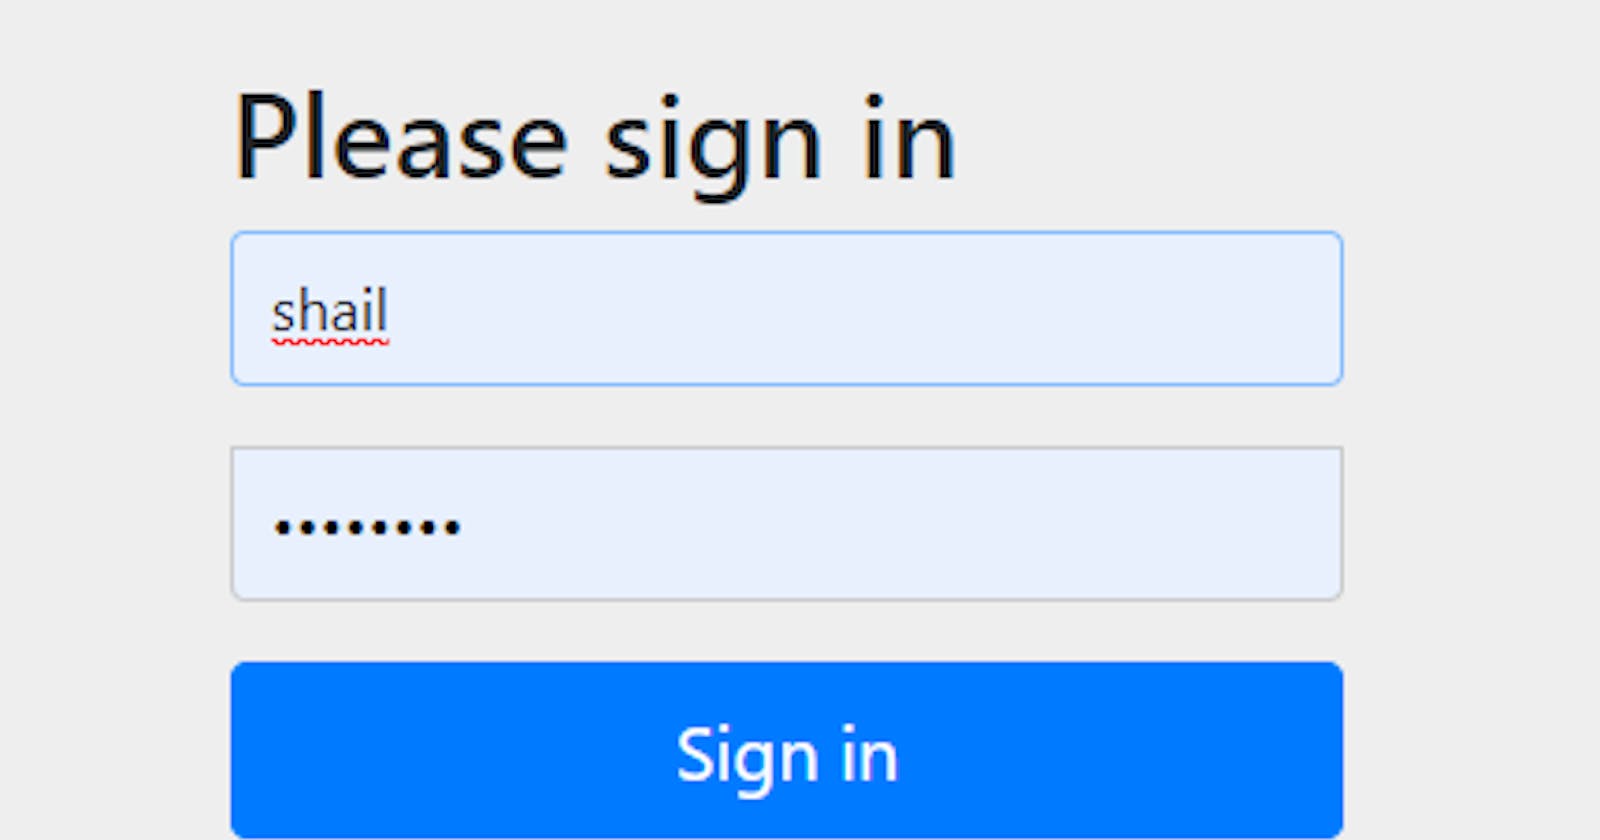
Now access the URL localhost:8080/api/admin/message, it will redirect you to the login page.
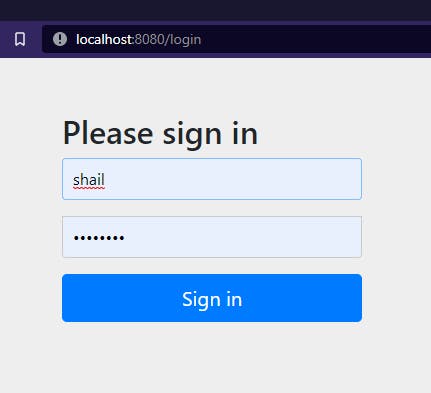
Enter the username and password as shail and shail123 respectively. Successfully logged in and output will be displayed.
For the above URL, if you will try to login with john and john123 you will be redirected to error page as the URL is accessible only for ADMIN role and john has USER role.

Similarly, try using the other URLs and see the output for yourself.
Summary
In this article, we learnt how to implement Spring Security using in-memory authentication and how the URL or resource is restricted based on the user role.
In the successive articles in the series, we will continue our learning and see the database based authentication and also using JWT with Spring Security.
You can find the source code for above implementation @ Github