


Table of contents
- Internationalization In Spring Boot
- Internationalization (i18n) vs. Localization (l10n)
- Introducing the Locale
- Internationalization in Spring Boot application
- Steps for Internationalization
- Resolving the Locale with LocaleResolver
- Intercepting the Locale Change
- Configuring the Resource Bundle
- Internationalizing the UI
- Adding Spring MVC Component
- Testing the Application
- Conclusion
Internationalization In Spring Boot
The method of adapting your application to multiple languages, regional quirks, and technological needs of a targeted locality without making major changes in the source code is known as internationalization and localization, or i18n and L10n, respectively.
Internationalization (i18n) vs. Localization (l10n)
Internationalization is the process of creating multilingual software that can be adjusted to many languages and locales. An internationalized application will have following characteristics:
• The application can be adapted to run in various regions by adding region or language-specific configuration.
• Text components like information messages and user labels, are stored outside the source code and are fetched at runtime.
• Adding new language support does not require code changes.
• Dates and currency, which are culturally dependent, are presented in the end user's local language and format. Internationalization is abbreviated as i18n as there are total of 18 characters between first letter I and the last letter n.
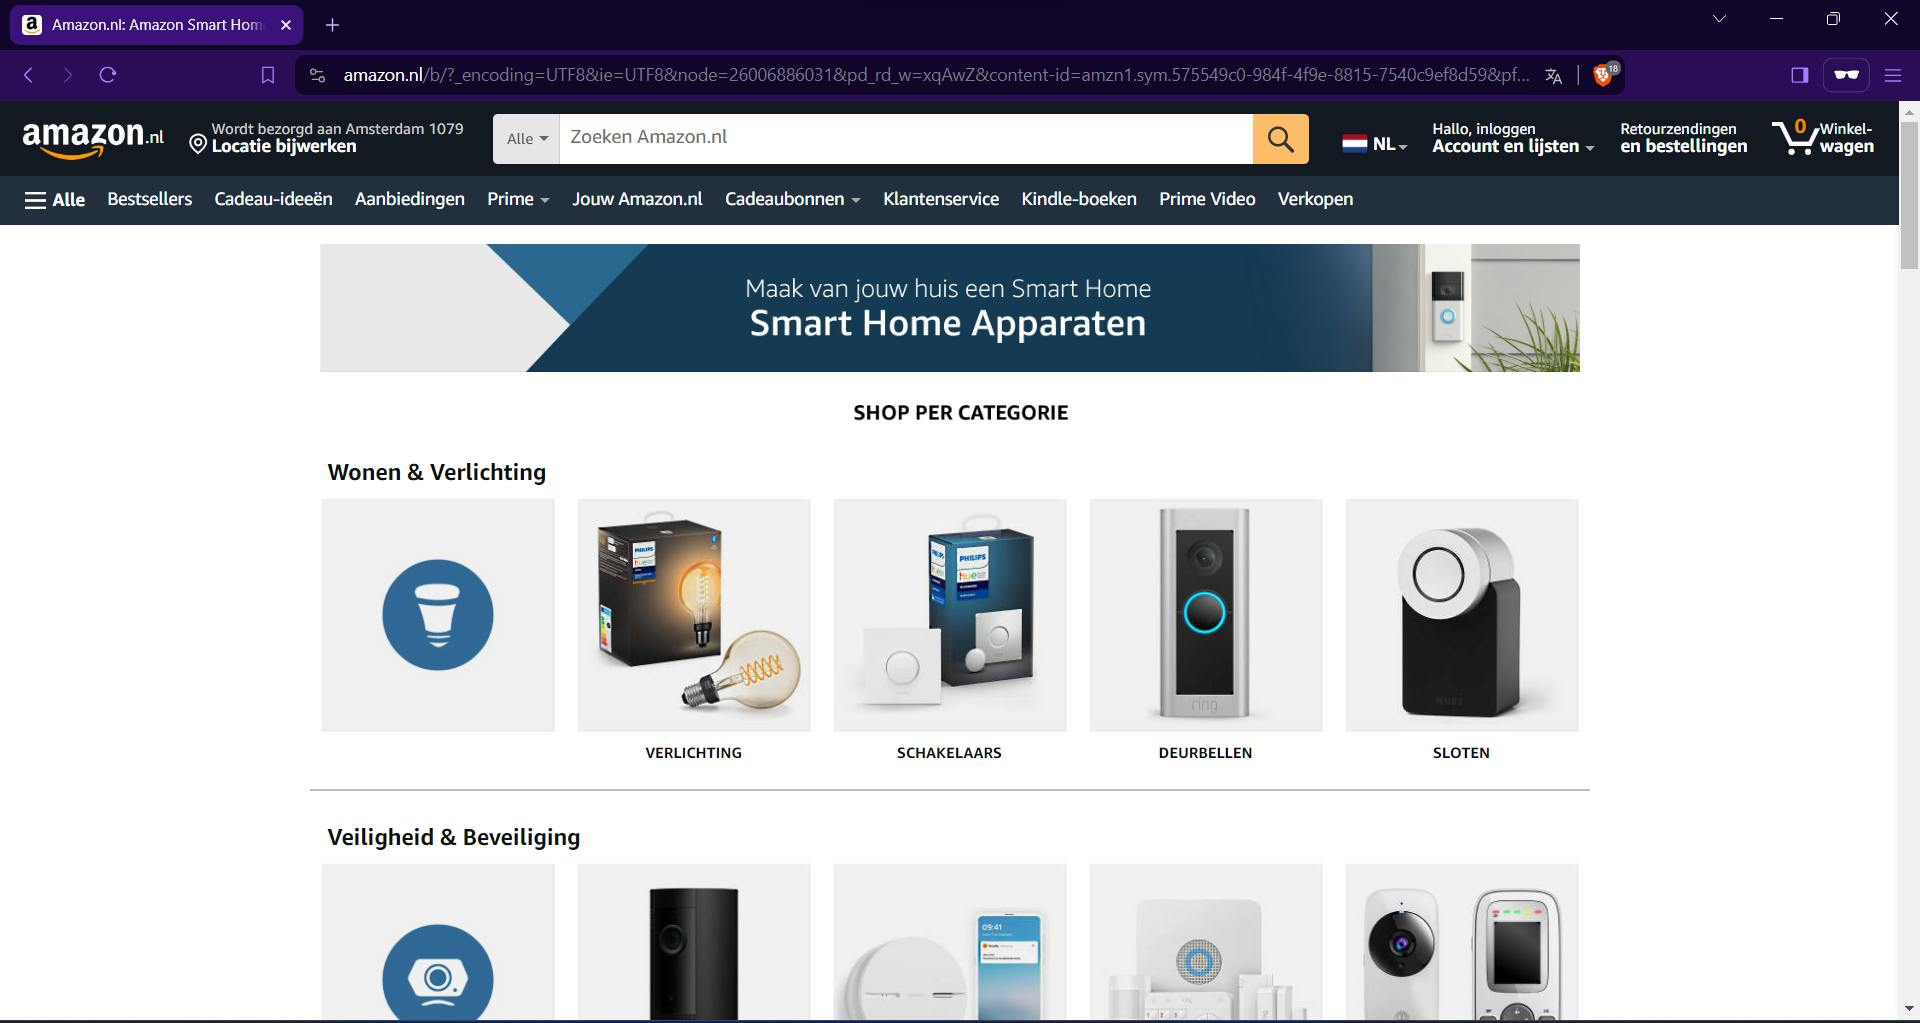
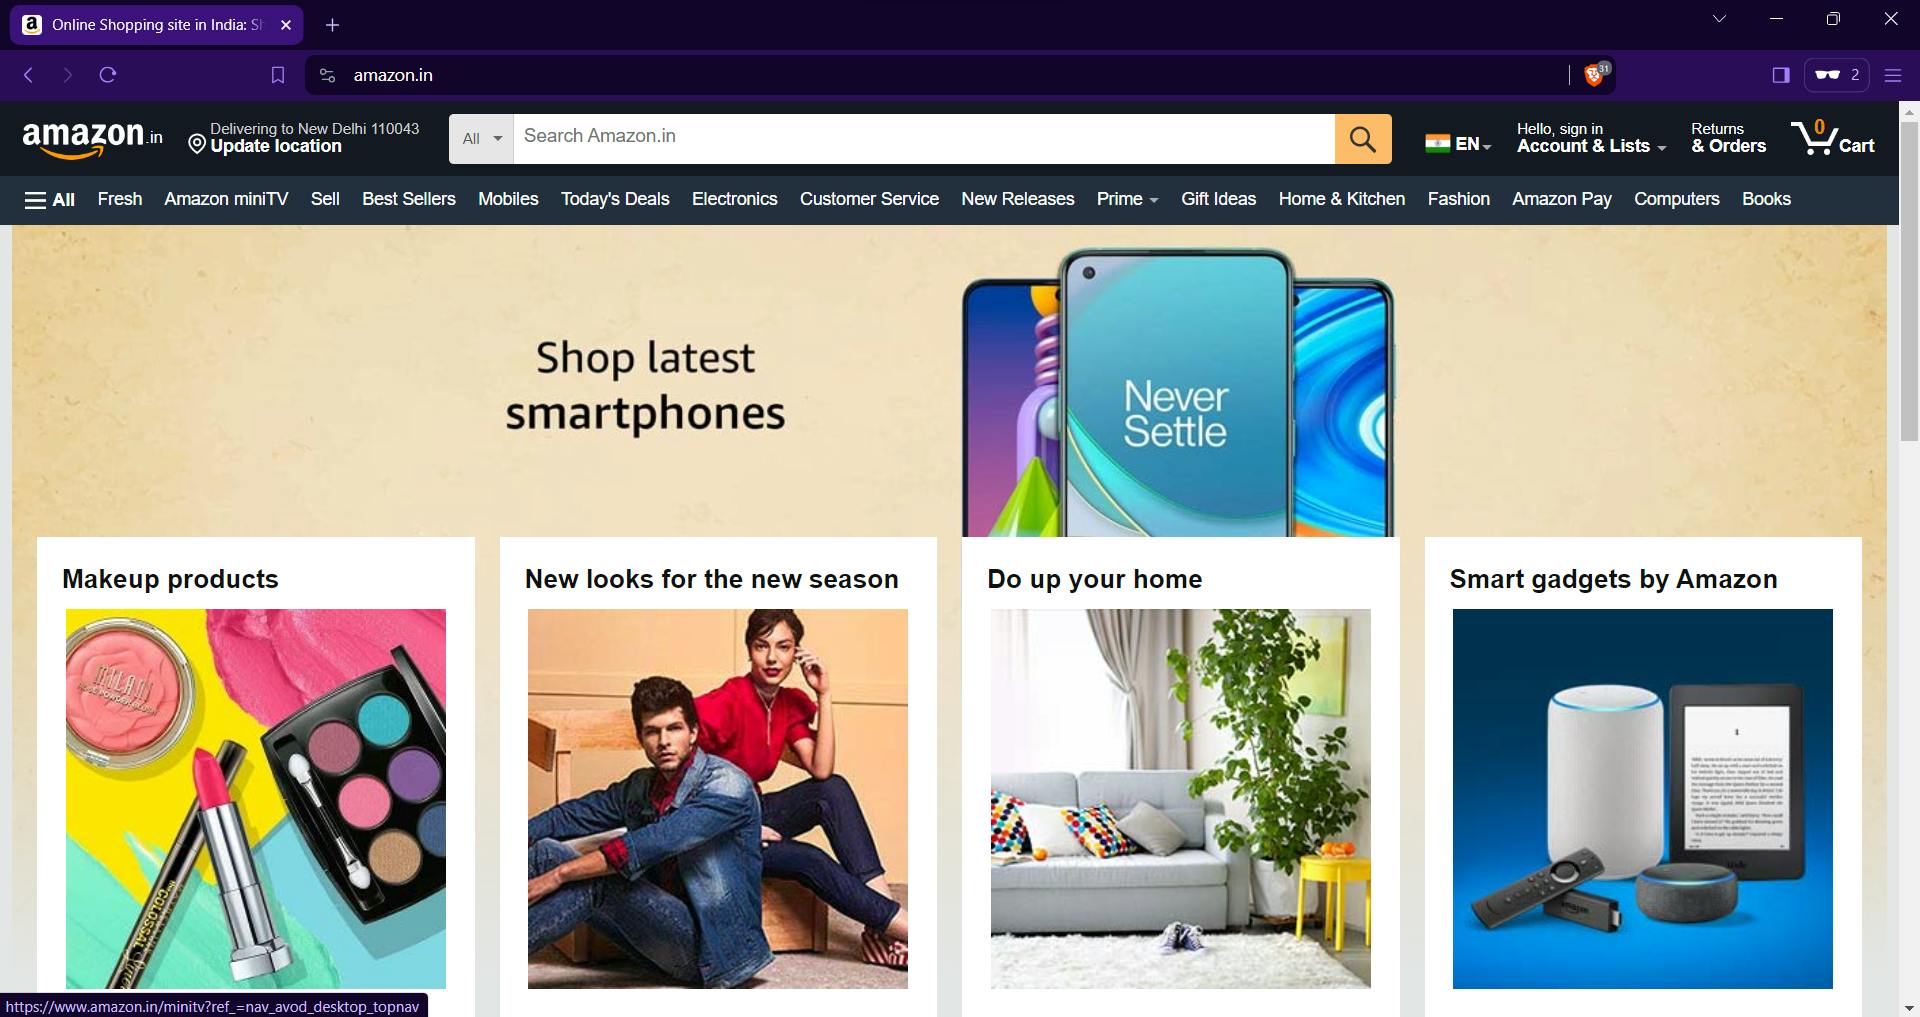
The e-commerce site Amazon supports internationalization:
Amazon e-commerce site in Dutch language from amazon.nl
Amazon e-commerce site in English from https://amazon.in
Internationalization is usually a one-time process done in the early stages of design and development of the application.
A similar term: Localization is the process of making an internationalized application adapt to a region and language specific by adding region-specific text and components.
When support for the Dutch language is added, we are localizing the application for Dutch. Without localization done, the text will be shown in default English language for the non-English regions.
Localization is usually done by the help of translators for the user-facing components of the application. It also includes localizing of currencies, culturally appropriate images, spelling, and other locale-specific components.
Unlike internationalization, to do localization we will have to add language specific files and region-specific content every time a new language support is added.
Localization is abbreviated as l10n as there are 10 characters between the first letter L and the last letter N.
Introducing the Locale
A locale is the core concept in internationalization. It depicts a user’s language, geographical region, and any other specific variant or preference that the user wants to see in their user interface.
The locale of the user can be used to tailor the application content according to the user’s language or region. For example, date can be formatted according to the locale of the user as dd/MM/yyyy or MM/dd/yyyy or display currency symbols $ (USD in USA) or ₹ (Rupee in India).
Internationalization in Spring Boot application
To add internationalization in Spring Boot application we do not need to add any extra library or dependency to pom.xml as the internationalization support is part of the core module of Spring Framework.
Steps for Internationalization
On a high-level, below steps are followed to internationalize an application:
Determining the user’s locale from the coming request; either in the request parameter, cookies, or a request header.
Intercepting the change of locale in the coming request and storing it in user session or cookie.
Defining locale-specific resources like language files for supported languages.
Mapping the region and language-sensitive elements in the view (HTML page or mobile app UI, etc) to update content at runtime based on the user
Resolving the Locale with LocaleResolver
LocaleResolver interface is used for resolving the locale of a user from the incoming user request.
Spring offers the following implementation of LocaleResolver interface to resolve the current locale based on the session, cookies, Accept-Language header, or sets the locale to a fixed value:
FixedLocaleResolver: It always returns the default locale and optionally time zone. It is primarily used for debugging purposes.AcceptHeaderLocaleResolver: It’s an implementation of LocaleResolver which uses Accept-Language http header to determine the Locale of the user.SessionLocaleResolver: It uses a locale attribute in the user’s session in case of a custom setting, with a fallback to the configured default Locale.CookieLocaleResolver: It uses a cookie sent back to the user in case of a custom setting, with fallback to the configured default Locale.
Let’s create a simple web application via Spring Initializer to use in our tutorial.
Let’s add a LocaleResolver bean in our application configuration.
@Bean
    public LocaleResolver localeResolver () {
        SessionLocaleResolver localeResolver = new SessionLocaleResolver();
        localeResolver.setDefaultLocale(Locale.US);
        localeResolver.setLocaleAttributeName("session.current.locale");
        localeResolver.setTimeZoneAttributeName("session.current.timezone");
        return localeResolver;
    }
Here SessionResolver is configured that will store the locale in session. Locale and timezone will be stored in the attributes session.current.locale and session.current.timezone respectively.
Intercepting the Locale Change
Next, we need to have a configuration which will detect any Locale change and switch to the new Locale.
This can be achieved by configuring the LocaleChangeInterceptor class. LocaleChangeInterceptor allows for changing the current locale on every request, via a configurable request parameter (default parameter name: "locale").
    @Bean
    public LocaleChangeInterceptor localeChangeInterceptor() {
        LocaleChangeInterceptor localeInterceptor = new LocaleChangeInterceptor();
        localeInterceptor.setParamName("lang");
        return localeInterceptor;
    }
Above configuration, will help to switch to a new Locale based on the value of request parameter lang in the request Url. For example, http://localhost:8080/index?lang=es for Spanish http://localhost:8080/index?lang=fr for French.
Configuring the Resource Bundle
A resource bundle is a collection of properties files with the same base name and a language-specific suffix. For example, language_fr.properties or language_es.properties. The resource bundle should also have a default properties file which can used as a fallback if a specific locale is not supported.
Each resource bundle will contain the same items with the values translated for the locale represented by that properties file.

Next, we will have to configure the ResourceBundleMessageSource class and define the path for language properties files.
    @Bean
    public MessageSource messageSource() {
        ResourceBundleMessageSource msgSource = new ResourceBundleMessageSource();
        msgSource.setBasename("lang/language");
        msgSource.setDefaultEncoding(StandardCharsets.UTF_8.displayName());
        return msgSource;
    }
MessageSource can also be configured in application.properties file:
spring.messages.basename=lang/language
Internationalizing the UI
To internationalize the view, the most commonly used technique is to use placeholders for text in user interface code instead of hardcoding the text in a particular language.
At runtime, the placeholder text will be replaced by the text in the language selected by the user.
Spring Boot provides auto-configuration for Thymeleaf and by default HTML files are placed in resources/template directory.
Let’s create a simple HTML which will display the values associated with keys defined in resource bundle.
<!DOCTYPE html>
<html>
<head>
<title data-th-text="#{msg.title}"></title>
</head>
<body>

<h1 data-th-text="#{msg.form_title}">Contact Form</h1>

<form action="/submit-form" method="post">
  <label for="name" data-th-text=”#{msg.name}”>Name:</label>
  <input type="text" id="name" name="name"><br><br>

  <label for="email" data-th-text=”#{msg.email}”>Email:</label>
  <input type="email" id="email" name="email"><br><br>

  <label for="message" data-th-text=”#{msg.message}”>Message:</label>
  <textarea id="message" name="message" rows="5"></textarea><br><br>

  <input type="submit" value="Submit">
</form>
<br/>
<div id="language-buttons">
  <a href="?lang=en">English</a> |
  <a href="?lang=fr">Français</a> |
  <a href="?lang=es">Español</a>
</div>

</body>
</html>
In the HTML we are using Thymeleaf tags for the text in html. The attribute data-th-text=”#{msg.message}” is used to display the values from properties file configured as MessageSource bean.
Adding Spring MVC Component
Let’s add a simple MVC controller by annotating @Controller annotation which will help to load our above HTML page
@Controller
public class HomeController {

    @GetMapping(value = "/")
    public String home() {
        return "home";
    }
}
Testing the Application
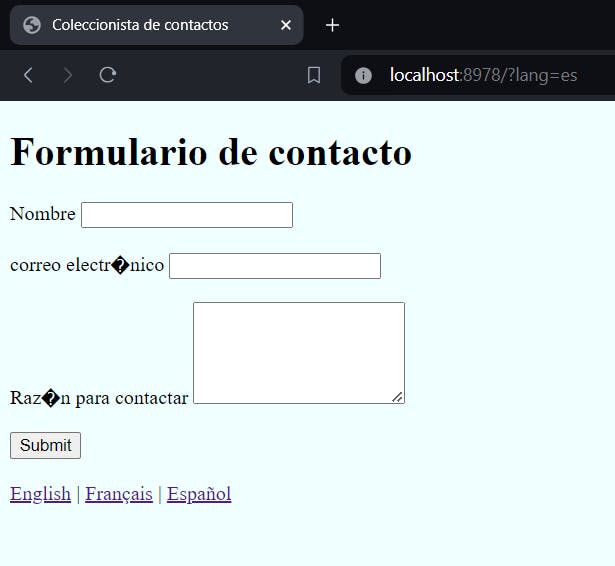
Let’s run the application and go to http://localhost:8978/ , the website will be loaded with default locale English and it has links to change the language to French or Spanish.
On clicking the links website will be refreshed and loaded in the language selected by the user.
Default Locale - English

Switching language to Spanish
Conclusion
Internationalization (i18n) enables the creation of software that supports multiple languages and regions.
Localization adapts the internationalized application to specific languages and regions by incorporating region-specific text and components.
A locale encompasses a user's language, geographical region, and any specific variants, such as dialects.
Language-specific text is stored in resource bundles, which consist of properties files with the same base name and language-specific suffix.
Spring Boot utilizes the
ResourceBundleMessageSourceto access Java resource bundles using specified base names.The user's locale is determined from the incoming request using the
LocaleResolverclass, and changes in the locale are managed by theLocaleChangeInterceptorclasses.
As always you can find the source code for the example @ GitHub